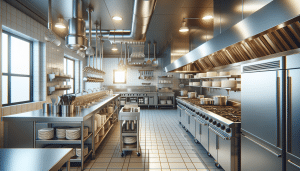
Let’s be honest for a second. Running a Commercial kitchen is chaos. Controlled chaos, maybe, but chaos nonetheless. You’ve got tickets flying in, the expo line is shouting, and the heat—well, if you’re in Salt Lake City in July, you know about the heat. But amidst all that noise and clatter, there’s a silent beast sitting right above your head that often gets ignored until it starts dripping or, heaven forbid, smoking. I’m talking about your Exhaust hood system. It’s the lungs of your kitchen, sucking out all that smoke, steam, and vaporized Grease so your chefs don’t pass out. But here’s the thing: that grease has to go somewhere. It doesn’t just disappear into the Utah air.
Most of it sticks. It clings to the filters, coats the ducts, and pools up in the fan on the roof. Over time, that sticky residue turns into a rock-hard fuel source just waiting for a spark. You might think a quick wipe-down of the canopy is enough, but that’s like brushing your teeth while eating Oreos—it looks okay for a second, but the problem is deep down in the gums. A professional clean isn’t just about making things shiny; it’s about fire safety, airflow, and keeping the health inspector happy. So, what actually happens during a real, deep clean? Let’s break down what a comprehensive checklist looks like, so you know exactly what you’re paying for.
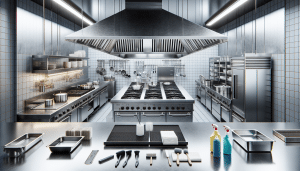
Phase 1: The Prep Work (Before the Water Hits)
You wouldn’t start painting a wall without taping off the trim, right? The same logic applies here. Cleaning a hood is a messy, wet business. We are talking about high-pressure water and strong chemicals. If a crew walks in and just starts spraying, kick them out. Seriously.
Preparation is arguably the most critical part of the process to protect your expensive kitchen equipment. A professional crew will spend a good chunk of time just setting up.
- Protecting the Kitchen Line: Every fry station, griddle, range, and prep table under that hood needs to be covered. We typically use heavy-duty plastic sheeting—sometimes double layers—secured with tape. You don’t want caustic degreaser dripping into your fryer oil. That’s a disaster waiting to happen.
- Managing the Waste: Where does the water go? It can’t just go down the floor drain if it’s loaded with grease sludge (your grease trap can only handle so much). We usually set up a funnel system using plastic tarps that directs the runoff into trash cans or specific Containment barrels.
- Lockout/Tagout: This is safety 101. We need to make sure the Exhaust fans and make-up air units are turned off and locked out at the breaker. We are going to be up on the roof with our hands inside fan blades; we really don’t want someone flipping a switch downstairs because it got “too hot” in the kitchen.
It sounds tedious, but this prep work separates the amateurs from the pros. It ensures that when we leave, your kitchen is ready to rock, not covered in puddles.
Phase 2: The Roof and The Fan (The Part You Never See)
Out of sight, out of mind, right? That’s the dangerous mentality. The roof is where the heavy lifting happens. The exhaust fan is constantly pulling grease-laden vapors up the ductwork. When those vapors hit the cooler outdoor air, they condense. That means the fan blades and the roof area around the fan are often caked in sludge.
If you’ve ever walked on a roof and felt the crunch of grease under your boots, you know what I mean. It’s bad for the roof membrane (grease eats rubber roofing), and it’s a massive fire hazard.
The Fan Unit Checklist
First, we take the fan off the duct. Ideally, you have an exhaust fan hinge kit installed. If you don’t, we have to physically lift the fan off, which is dangerous for the fan wiring and the roof. With a hinge, it tilts back like a lid.
Once it’s open, we scrape. We scrape the blades, the housing, and the curb. Why scrape first? Because if you just hit thick grease with a pressure washer, you make a huge mess and it takes forever. Removing the bulk of the “solid” grease manually makes the chemical cleaning much more effective. After scraping, we apply a heavy-duty foaming degreaser and let it dwell. Then comes the hot water pressure wash.
We also check the fan belt. Is it frayed? Is it loose? A slipping belt means poor airflow, which means a smoky kitchen. If it’s bad, we’ll let you know or swap it out if that’s part of our arrangement.
Phase 3: The Ductwork (The Tunnel of Grease)
This is the tricky part. The ductwork connects the hood canopy in your kitchen to the fan on the roof. It can be a straight shot, or it can twist and turn like a pretzel depending on how your building was designed. NFPA 96 standards require that we clean the entire system, not just the parts you can reach with a rag.
The challenge here is access. If the duct goes horizontal for twenty feet, how do you clean the middle? This is where access panels come into play. If your system doesn’t have them, we might need to install them (with your permission, of course) to ensure we can physically reach the grease.
The process is similar to the fan:
- Manual Scraping: Getting the thick buildup off the walls of the duct.
- Chemical Application: Coating the interior with a degreaser that breaks down the bonds of the remaining grease.
- Pressure Washing: Blasting it clean to bare metal.
You know what? Sometimes we use spinners—these rotating nozzles that go down the duct and spray 360 degrees. They are incredibly satisfying to watch if you’re into that sort of thing.
Phase 4: The Hood Canopy and Filters
Alright, we are back downstairs in the kitchen. This is the part your health inspector sees first. The hood canopy (the big metal overhang) captures the smoke, and the baffle filters are the first line of defense against grease entering the system.
Let’s talk about those filters. You should probably be running them through the dishwasher daily or soaking them, but they still get buildup in the crevices that a machine can’t reach. During a professional clean, we take them out and often pressure wash them separately to blow out everything stuck inside the baffles.
Behind the filters is the plenum area. This is the space immediately behind the filters where the air gathers before shooting up the duct. This area is usually a grease trap. It collects oil that drips off the filters. We scrape the plenum, clean the grease cup (that little tray you probably forget to empty), and wash the entire interior of the canopy.
Phase 5: The Polish and The Shine
Cleaning is science; polishing is art. Once the grease is gone, the stainless steel usually looks dull or streaky. It’s clean, sure, but it doesn’t look pretty yet. And in the restaurant business, perception is reality.
We dry the canopy completely. This is crucial because water spots on stainless steel look terrible. Then, we apply a specialized stainless steel polish. We buff it out until you can see your reflection in it. It’s not just vanity; that polish actually creates a slight barrier that makes it easier for you to wipe down the exterior during your daily cleaning routine.
When you walk into your kitchen the next morning, that shine is the first thing you notice. It feels cleaner. It smells better.
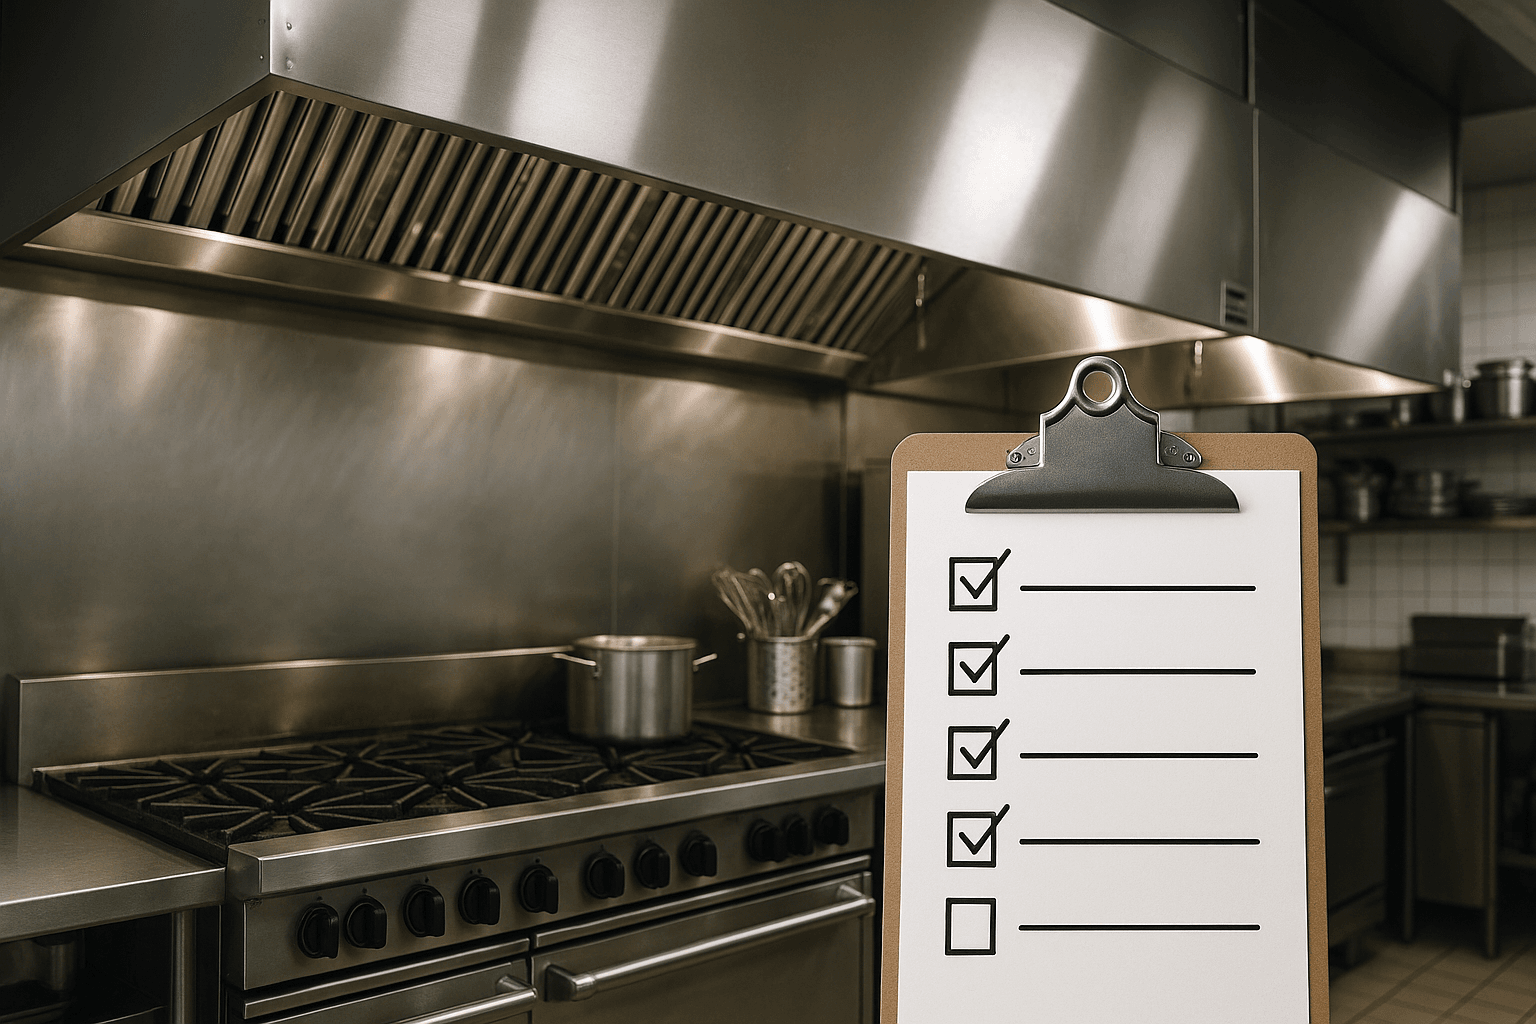
Phase 6: The Post-Clean Inspection
We aren’t done just because the water is off. A checklist isn’t complete without verification. We need to make sure we didn’t miss a spot, and we need to prove it to you.
NFPA 96 requires that a certification sticker be placed on the hood. This sticker is your “get out of jail free” card with the fire marshal. It states the date of cleaning, the company that did it, and when the next cleaning is due. If that sticker is missing or expired, you can get shut down. Simple as that.
But beyond the sticker, we usually take photos. Before and after shots. Why? Because you aren’t going to climb up on the roof to check our work (and please, don’t, it’s slippery). We document the clean ductwork, the shiny fan blades, and the immaculate plenum so you have digital proof of compliance.
Why Frequency Matters (Don’t Wait for the Drip)
I get asked all the time, “How often do I really need this?” The answer isn’t up to me; it’s up to the fire code and the volume of your cooking. If you are running a high-volume steakhouse or a 24-hour diner using solid fuel (wood or charcoal), you might need a clean every month. A standard restaurant usually looks at quarterly cleanings.
Low-volume places like churches or seasonal camps might get away with once a year. But honestly, waiting too long is a gamble. Grease is acidic. It eats into the metal of your fans and ducts. Replacing an exhaust fan is a heck of a lot more expensive than a scheduled cleaning. Plus, as the grease builds up, your airflow drops. That means a hotter kitchen, smokier air, and grumpy cooks. Nobody wants grumpy cooks.
Common “Shortcuts” to Watch Out For
Not every hood cleaner in Salt Lake City operates with the same integrity. I hate to say it, but there are “splash and dash” companies out there. They come in, polish the parts you can see (the canopy), maybe spray a little water in the duct, and leave. They charge you half the price, but they do 10% of the work.
Here is how you spot them:
- They are done in an hour: A proper hood clean takes time. If they are in and out faster than it takes to watch a movie, they didn’t clean the roof fan.
- No photos: If they won’t show you pictures of the ductwork or the fan blades, be suspicious.
- Your kitchen is a mess: If they leave water all over the floor or grease streaks on your equipment, they don’t respect your business.
Cheap cleaning is actually the most expensive kind, because eventually, the fire inspector will fail you, or worse, a fire will start in the ductwork where they didn’t clean.
The Final Cleanup
The last step of our checklist is leaving the kitchen better than we found it. We mop the floors around the work area. We wipe down any overspray. We re-light the pilot lights if we had to extinguish them (though usually, we ask your staff to handle gas appliances for liability reasons). We remove all the plastic sheeting and dispose of the grease waste properly.
When you unlock the doors the next morning, the only evidence we were there should be a shiny hood, a new sticker, and better airflow.
Maintaining a commercial kitchen in Utah is hard work. You have enough to worry about with food costs rising and staffing shortages without stressing over whether your exhaust system is a ticking time bomb. A professional hood cleaning isn’t just a cost of doing business; it’s an investment in the safety and longevity of your restaurant. When the job is done right, you sleep better.
If you suspect your current cleaners might be cutting corners, or if it’s just been a while since you’ve had a professional assessment, don’t wait until the inspector shows up. We are here to help keep your kitchen safe, compliant, and running smoothly. Give us a call at 801-853-8155 or go online to Request a Free Quote today.