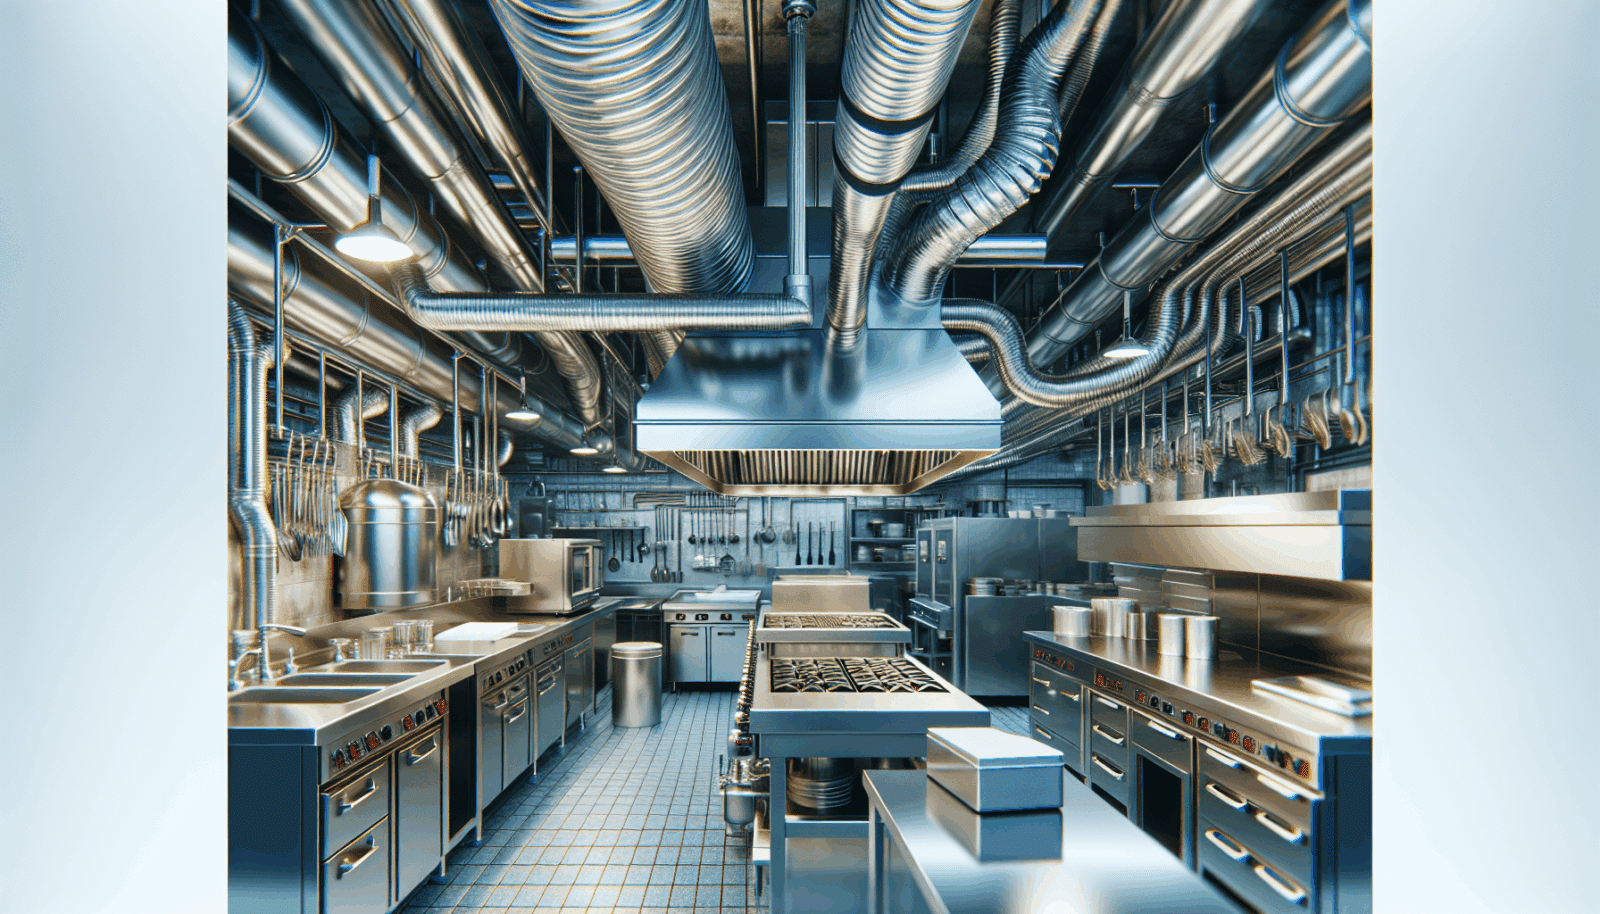
DIY Kitchen Hood Ductwork Cleaning: Step-by-Step Instructions
Welcome to Utah Hood Cleaning! We understand that maintaining a clean kitchen is important for both aesthetics and safety. One area often overlooked is the kitchen hood ductwork. Left unchecked, Grease and grime can build up, posing fire hazards and reducing air quality. In this guide, we’ll walk you through the DIY steps for cleaning your kitchen hood ductwork, empowering you to tackle this task with confidence.
Understanding the Importance of Clean Ducts
Keeping your kitchen hood ducts clean isn’t just about appearances. Clean ducts help in maintaining a safe cooking environment by preventing potential fires caused by grease buildup. Additionally, they improve ventilation, ensuring that your kitchen stays fresh and free of odors. By taking time to clean your ductwork, you’re protecting your home and family.
Furthermore, regular cleaning extends the lifespan of your kitchen equipment. Clogged ducts can overwork your Exhaust system, leading to costly repairs or replacements. By following our guide, you can keep your kitchen running smoothly and efficiently.
Gathering Your Supplies
Before you start, gather all necessary supplies to streamline the cleaning process. Having everything at hand will save you time and prevent inconvenience mid-task. Here, we detail what you’ll need for an effective clean.
First, ensure you have a sturdy step ladder to reach high spots safely. You’ll also need a microfiber cloth and a scrub brush for scrubbing away grease. Don’t forget dish soap and white vinegar for making a cleaning solution. Finally, have a vacuum handy to suck up debris and dust, ensuring a thorough job.
Preparing Your Kitchen for Cleaning
Preparation is key to a successful duct cleaning. Take a moment to ready your kitchen for the task ahead. This not only simplifies the process but also ensures your kitchen remains tidy throughout the cleanup.
Start by removing any pots, pans, or utensils from the stove. Cover nearby surfaces with a drop cloth to protect them from grease splatter. Finally, ensure that your kitchen is well-ventilated by opening windows or turning on fans to keep the air clear while you work.
Disconnecting the Ductwork
Now that you are prepared, the next step is disconnecting the ductwork. This allows you to clean each part thoroughly, ensuring no section is left untouched. Handle this step with care to avoid damaging your ducts.
Begin by locating the screws or clips holding the ductwork together. Use a screwdriver to carefully remove them, gently separating the sections. If your ductwork is connected to an electrical system, ensure the power is off before proceeding to avoid accidents.
Creating a Cleaning Solution
A good cleaning solution is vital for removing stubborn grease deposits. Luckily, you can create an effective solution with items you likely already have at home. Follow these simple steps for a powerful and eco-friendly cleaner.
- Dish Soap: Use mild dish soap that can cut through grease without damaging your duct surfaces. Mix it with warm water to form a soapy solution.
- White Vinegar: Add white vinegar to your mixture, as it’s excellent for breaking down grime. It serves as a natural solvent.
- Baking Soda: For tough spots, use baking soda. It acts as a gentle abrasive to scrub away set-in residues.
- Hot Water: Ensure the water is hot to soften tough grease, making it easier to wipe away. Keep a bucket or sink of hot water nearby.
- Essential Oils: Include a few drops of essential oils like lemon or tea tree for a fresh scent and additional grease-cutting power.
Cleaning the Ductwork
With your solution ready, it’s time to scrub away grime and grease. This is the most hands-on part of the process, but also the most rewarding as you see your ducts transform.
Dip the scrub brush into your cleaning solution and apply it generously onto the duct surfaces. Scrub in circular motions to dislodge grease effectively. For stubborn spots, apply more pressure and use the baking soda mentioned earlier.
Rinse your brush frequently to ensure it doesn’t just spread grease around. Once satisfied, wipe down the ducts with a clean, damp microfiber cloth to remove any residue. Lastly, use the vacuum to pick up loose dust and debris from inside the ducts.
Reconnecting the Ductwork
Reconnecting your ductwork ensures your Exhaust system functions properly once cleaning is complete. Follow these steps to put everything back together safely and securely.
Carefully align the duct sections and reconnect them using the screws or clips you removed earlier. Double-check that each joint is secure and properly sealed. If needed, use duct tape to cover any leaks to maintain airflow efficiency.
Testing Your Work
The final step is to test your system to ensure everything runs smoothly. This is crucial to confirm that all parts of your ductwork are functioning properly.
Turn on your Kitchen Exhaust fan and listen for smooth and quiet operation. Step outside to see if the exhaust is blowing air correctly. If everything checks out, give yourself a pat on the back for a job well done!
Maintaining Clean Ducts
Consistency is key to keeping your ducts in top shape. Regular maintenance can prevent future buildup and make subsequent cleanings much easier. Here’s how to maintain clean ducts effortlessly.
Schedule routine inspections and cleanings every few months, depending on your cooking habits. Keep your stovetop clean, as less grease on your stove means less up in your ducts. Lastly, consider installing filters to catch grease particles before they enter your duct system.
Conclusion
Thank you for following our step-by-step guide to DIY kitchen hood ductwork cleaning. We’re here to help with any questions or for professional assistance. Call us at 801-853-8155 or Request a Free Quote.